OPNsense Installation Guide
1. Download and Prepare Installation Media
First, download the OPNsense ISO image and prepare it on a USB drive:
- Download: OPNsense-25.1-vga-amd64.img
- Write the image to a USB drive
2. Start the Installation
After booting from the USB drive, you'll see the installer. Login with:
- Username: installer
- Password: opnsense
3. Installation Menu
Select the following options:
Filesystem Selection:
Choose "Install (UFS or ZFS)"
Recommendations:
- If you don't need snapshots or ZFS features → UFS
- If you have sufficient RAM (4 GB or more) → ZFS
For simplicity and speed: Select Guided Installation (UFS)
4. Select Disk
Choose the disk where you want to install OPNsense.
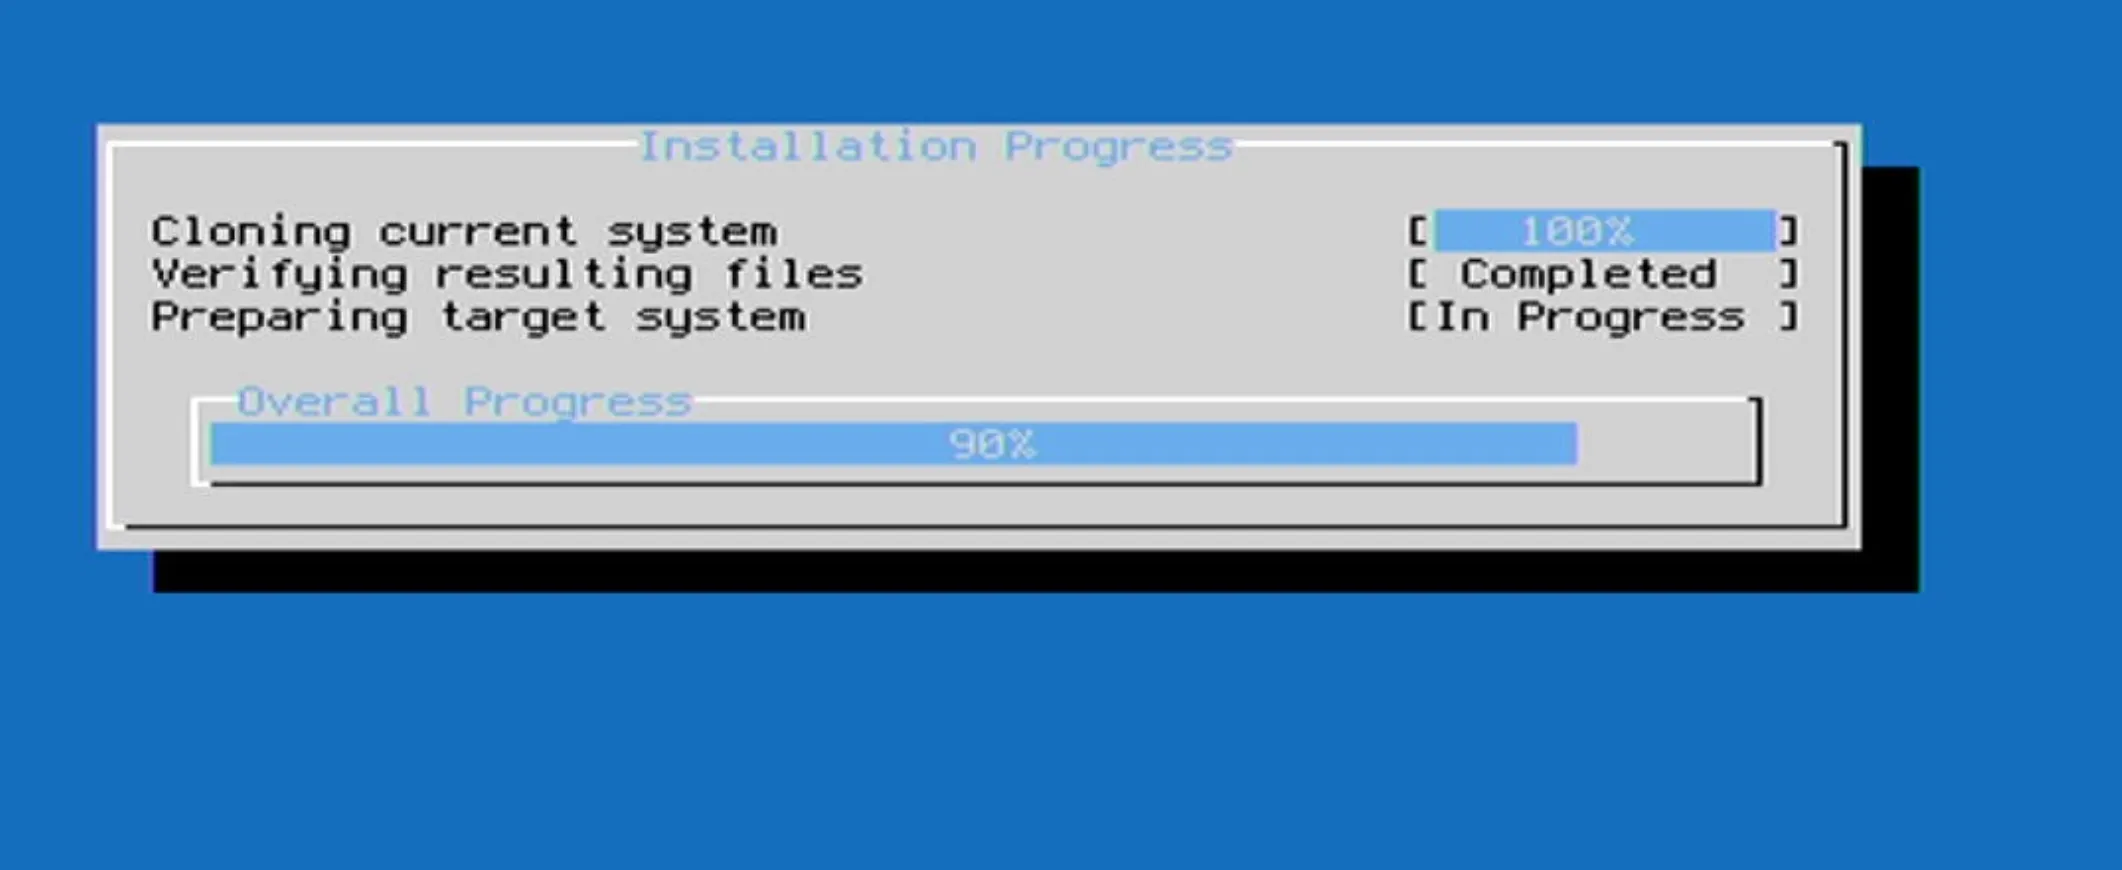
5. Installation Process
Wait 1-3 minutes for the installation to complete.
6. Root Password
Set the root password for both GUI and console access. Enter it twice when prompted.
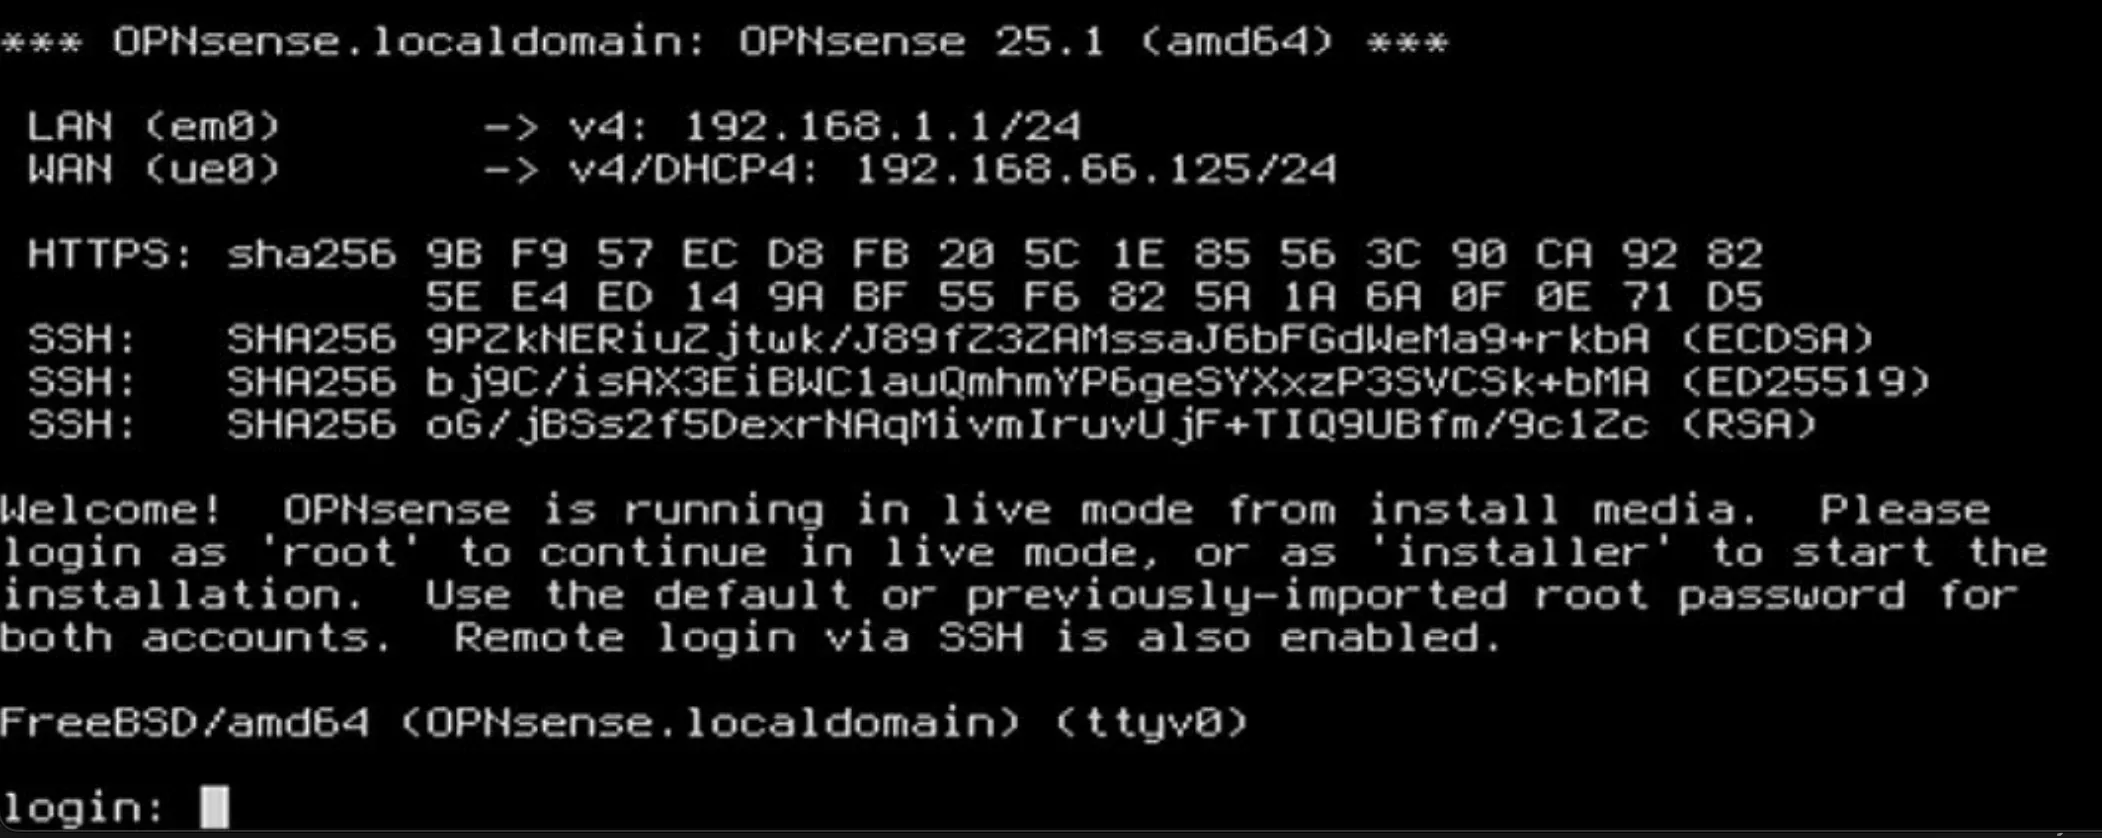
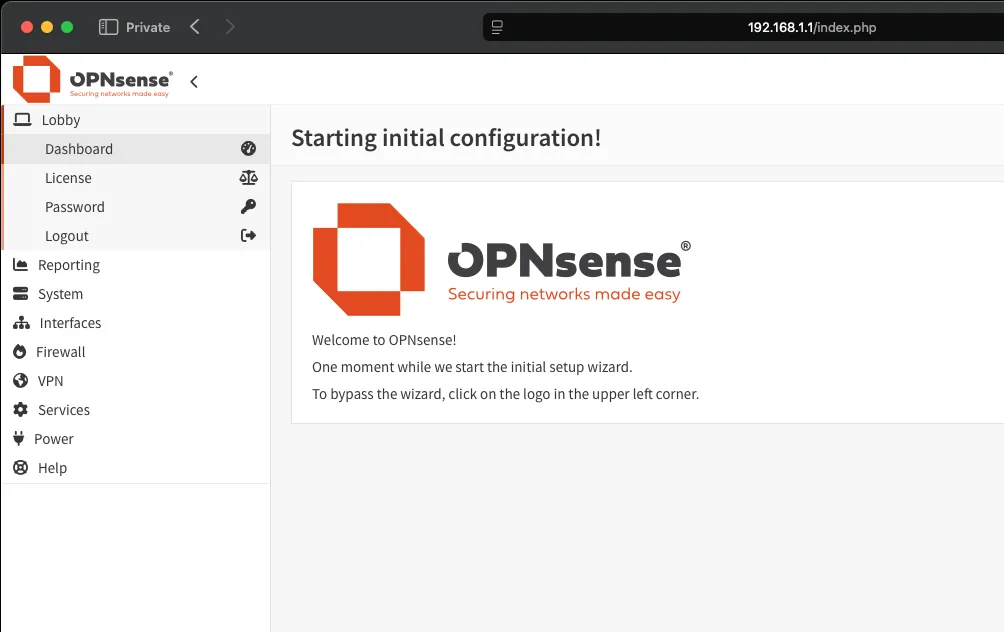
7. First Boot
After restarting the machine, you'll see the initial setup screen:
8. Access the Web Interface
Access the GUI through your web browser using the IP address:
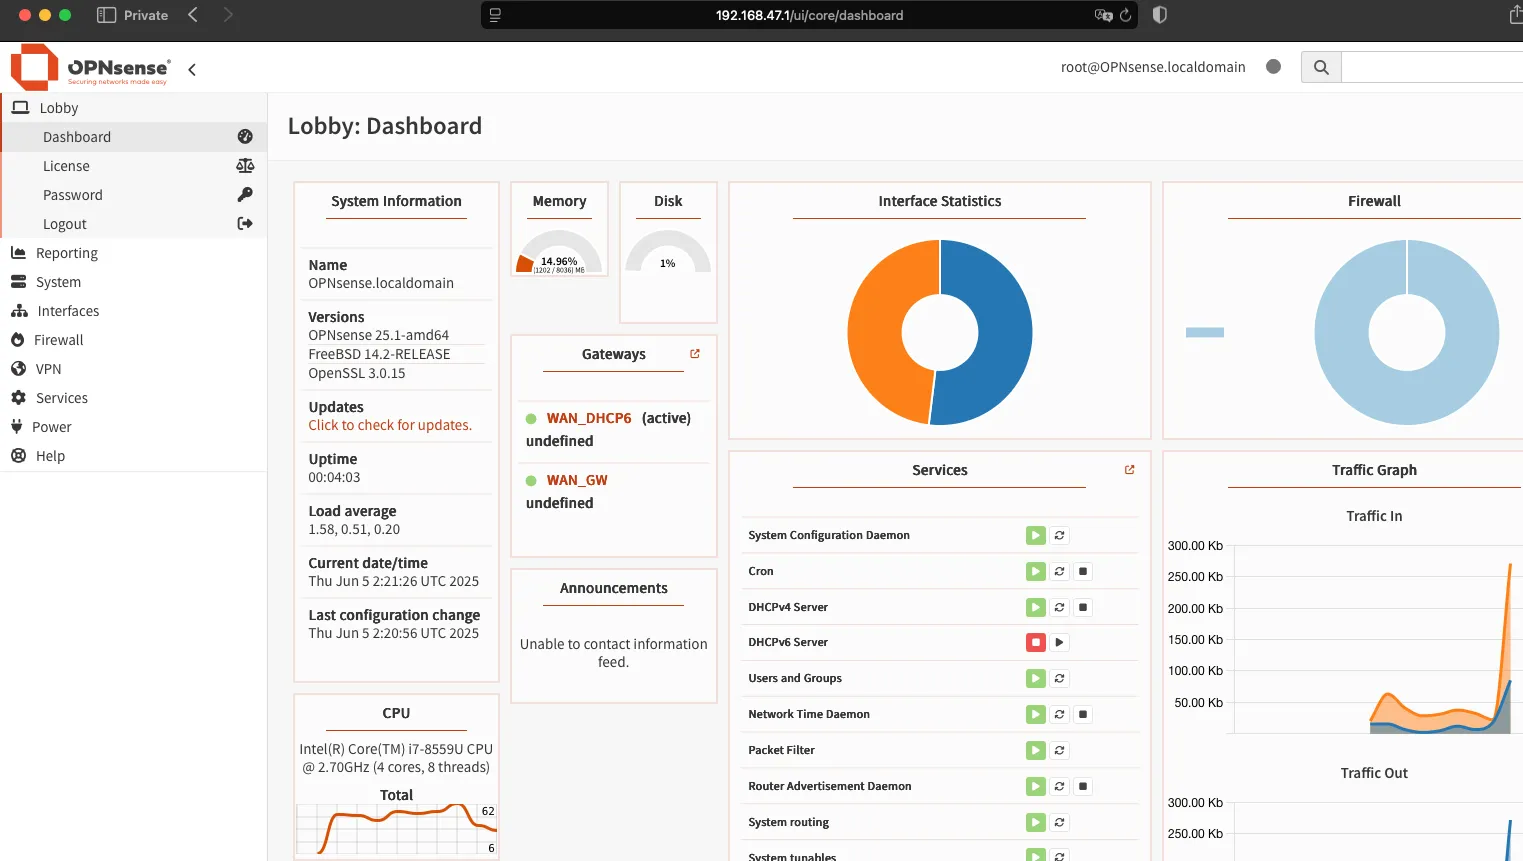
9. Dashboard
After configuring and changing the IP address, you'll have access to the dashboard: