Project Highlights
This OPNsense certificate project documents ACME certificate automation using the OPNsense ACME Client plugin and Cloudflare DNS validation. It covers creating and testing a Cloudflare API token, installing the ACME plugin, creating an ACME account, configuring the DNS challenge, adding automation, issuing the certificate, and confirming successful renewal status.
- Configured ACME certificate issuance in OPNsense.
- Created and verified a Cloudflare API token for DNS validation.
- Installed the
os-acme-clientplugin in OPNsense. - Configured Cloudflare DNS challenge settings with Zone ID and Account ID.
- Added automation to restart the OPNsense web UI after certificate updates.
- Issued and renewed certificates through the ACME Client workflow.
ACME Certificate Creation for OPNsense
This guide shows the steps to configure and request an ACME certificate in OPNsense using a Cloudflare API Token.
Step 1: Create a Cloudflare API Token
- Log into your Cloudflare account
- Go to Profile > API Tokens
- Click Create Token
- Use Edit zone DNS template
- Copy and save your token securely
Step 2: Test API Token
Use this command to verify the token:
curl "https://api.cloudflare.com/client/v4/user/tokens/verify" \
     -H "Authorization: Bearer eLdUk3hfK2ACasCKj7vzb2QUoZ0U5IfPkefo3aA"
Step 3: Install ACME Client Plugin (Do Not Enable Yet)
- Go to System > Firmware > Plugins
- Install os-acme-client
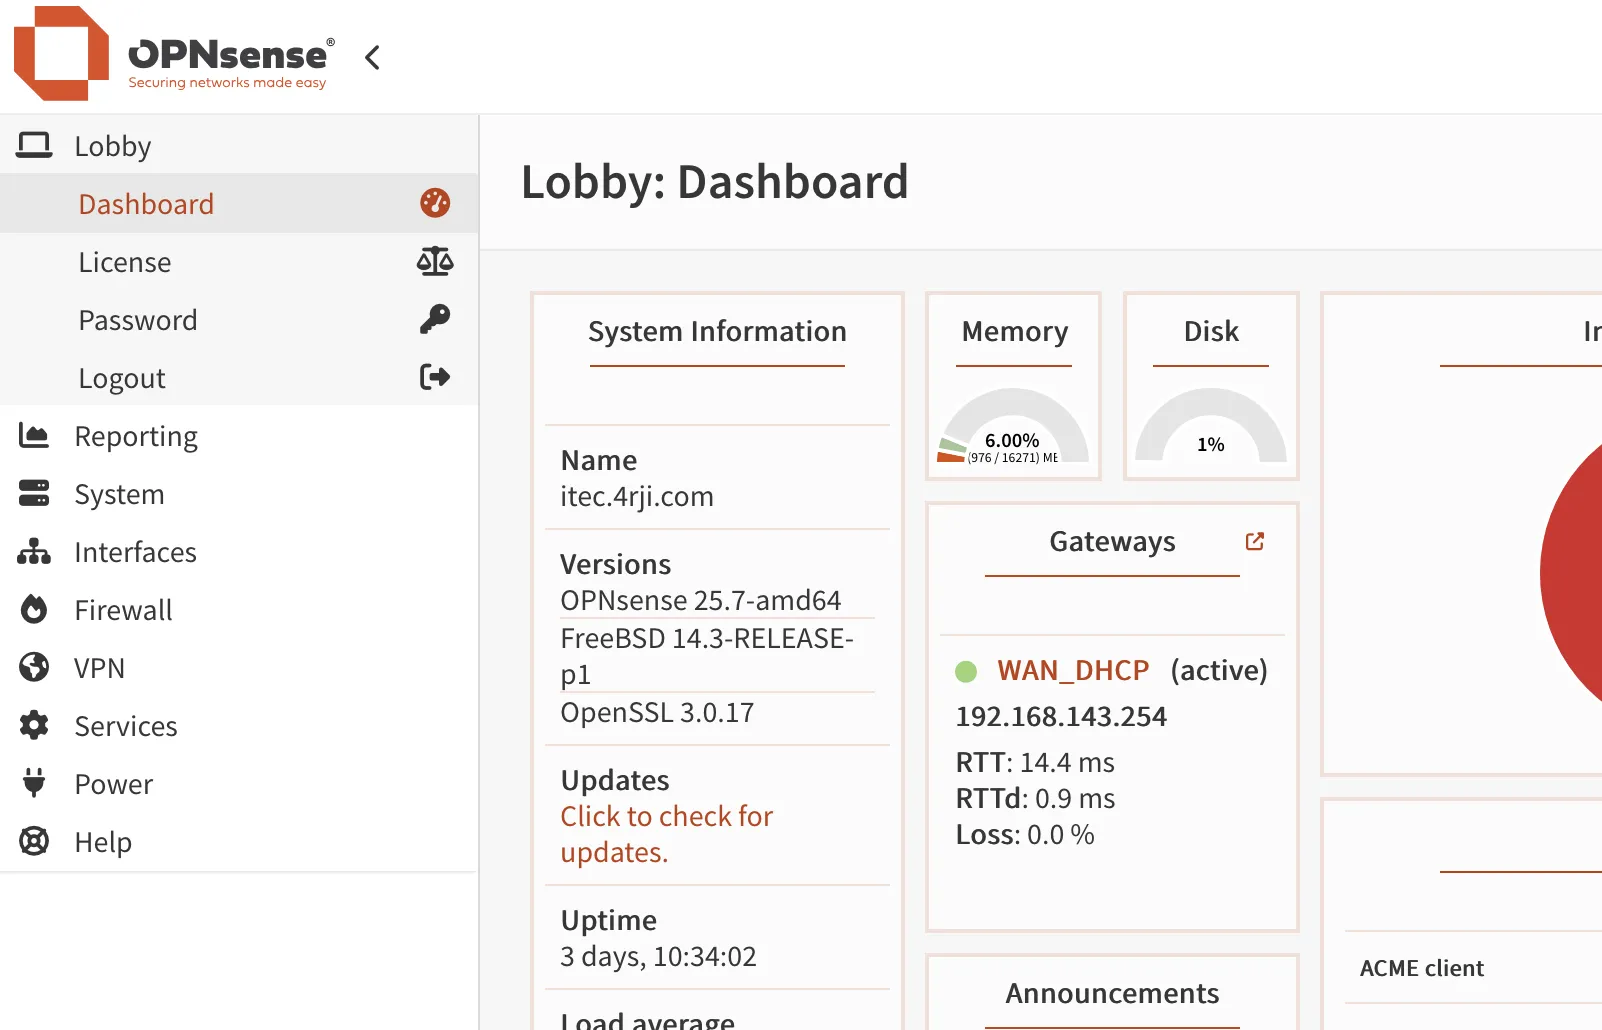
Step 4: Confirm Domain
- Go to System > Settings > General
- Make sure your domain is correctly set
Step 5: Create ACME Account
- Go to Services > ACME Client > Accounts
- Create a new account
Step 6: Configure Challenge Type
- Go to Services > ACME Client > Challenge Types
- Choose Cloudflare as DNS service
- Paste token: eLdUk3hfK2ACasCKj7vzb2QUoZ0U5IfPkefo3aA
- Add your Zone ID and Account ID (found in Cloudflare domain overview)
Step 7: Add Automation
- Go to Services > ACME Client > Automations
- Create new: Restart OPNsense Web UI
- Command:
Restart opsensen web io
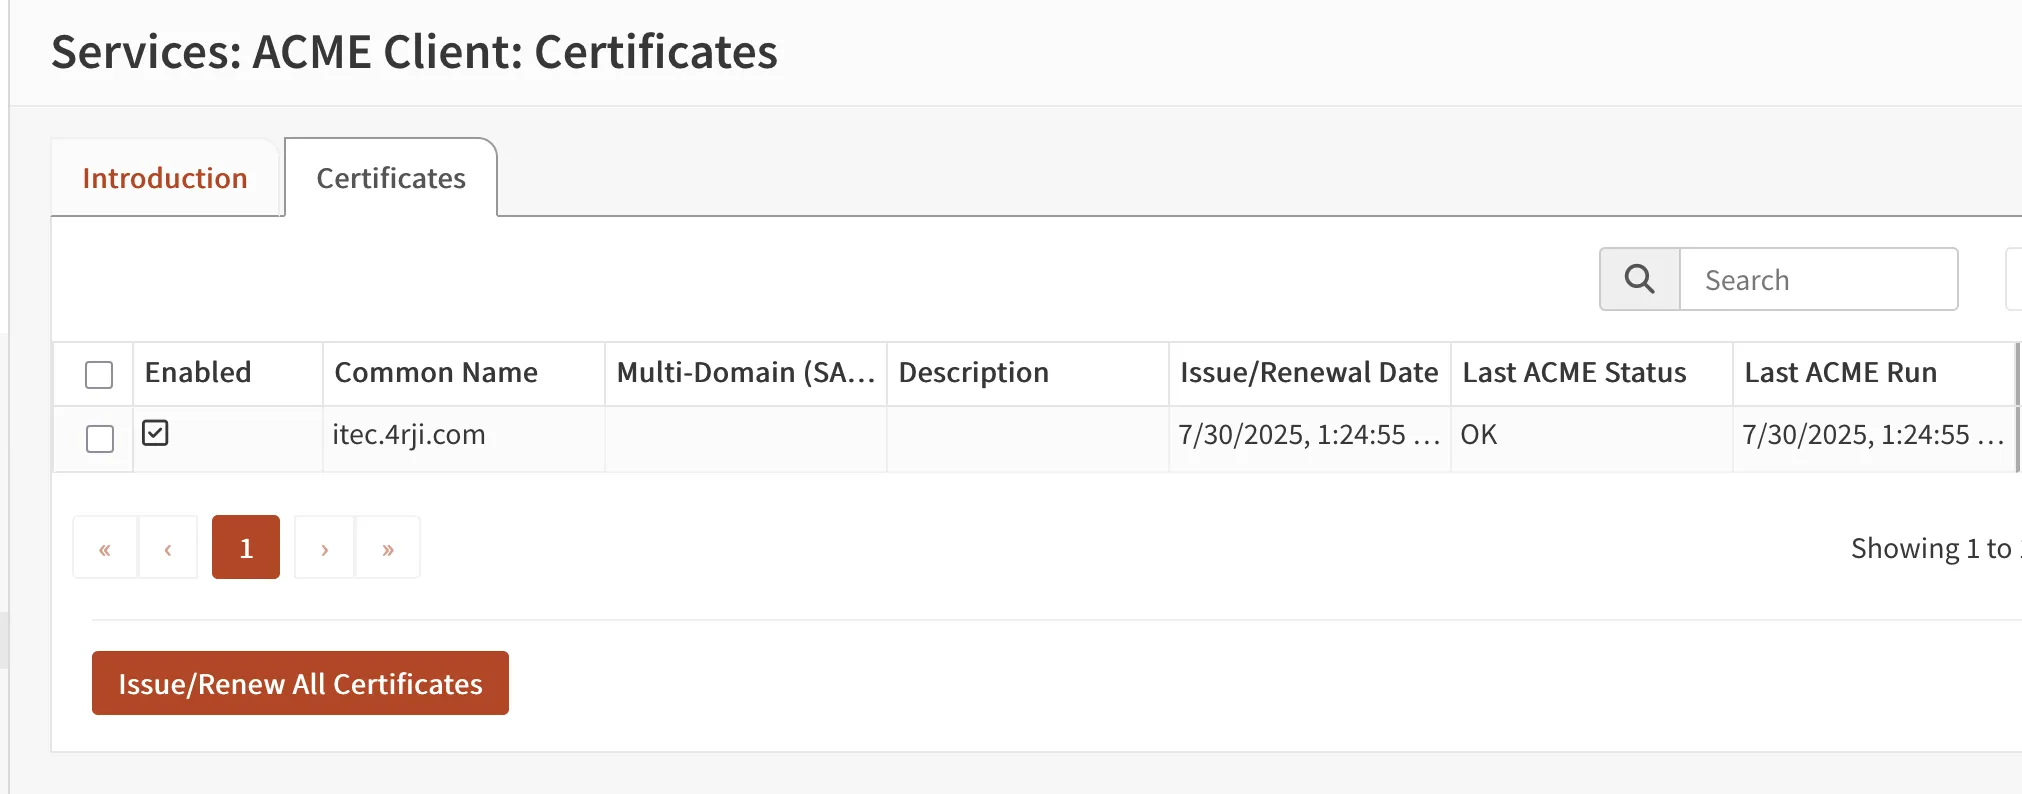
Step 8: Create Certificate
- Go to Services > ACME Client > Certificates
- Common Name: itec.4rji.com
- Link the automation created before
Step 9: Issue/Renew Certificate
- Click Issue/Renew All Certificates
- Confirm status shows OK