Quick Navigation
Project Highlights
This guide covers the deployment of a development OpenStack cloud using DevStack, configuring the CLI environment variables for administration, and uploading multiple Linux cloud distributions (Ubuntu, Debian, and Oracle Linux) through the OpenStack CLI.
- Deploying a single-node OpenStack cloud on Ubuntu 22.04 LTS via DevStack.
- Accessing the web-based Horizon Dashboard and Keystone Identity service.
- Authenticating to the OpenStack command-line interface using environment variables.
- Uploading official Linux cloud images from the CLI using customized properties (UEFI, VirtIO SCSI, and disk bus properties).
- Installing OpenStack client libraries, querying available resources, and launching a test VM to retrieve its noVNC console URL.
Installation & Image Management
Follow these steps to deploy DevStack, configure environment variables, and upload cloud images via the CLI.
-
1
Clone the DevStack Repository
Log into your target Ubuntu 22.04 machine, clone the official DevStack repository, and enter the directory:
git clone https://opendev.org/openstack/devstack.git cd devstack -
2
Prepare the Configuration File
Copy the sample configuration file to serve as your local configuration:
cp samples/local.conf . -
3
Run the DevStack Installer
Execute the installation script to download and install all required OpenStack services. This process may take 15-30 minutes depending on your internet connection and CPU resources:
./stack.sh -
4
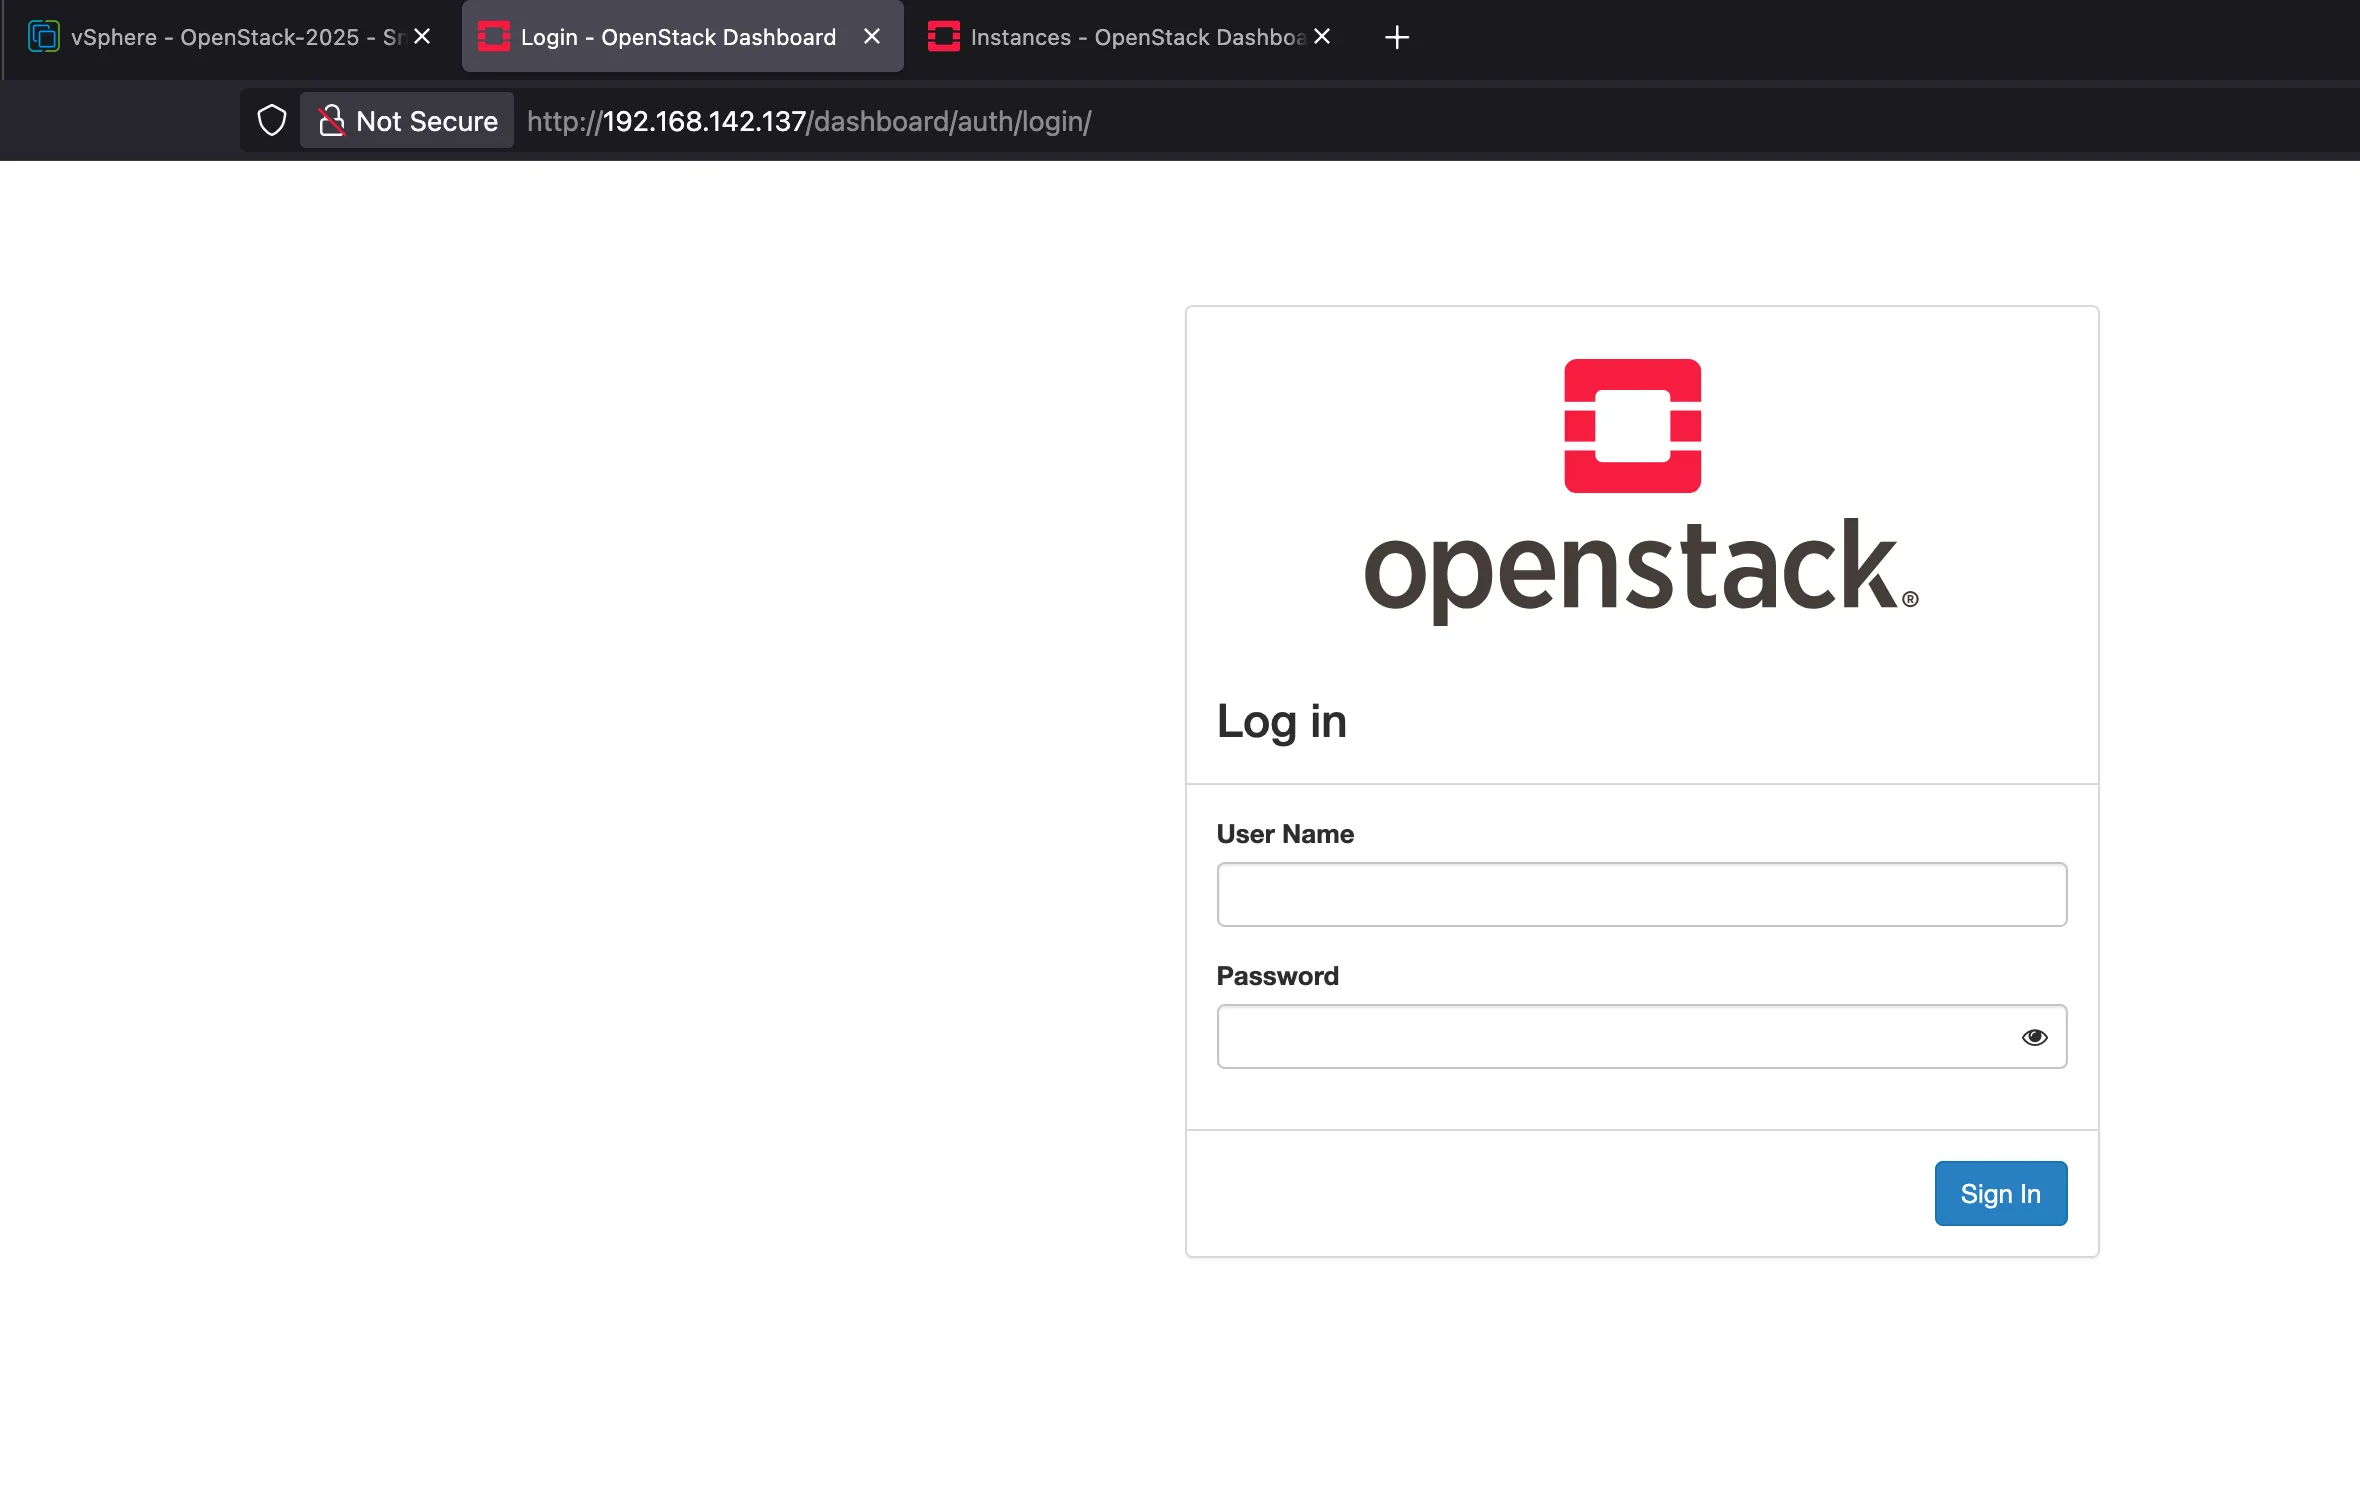
Verify Access to OpenStack
Once the script finishes successfully, the outputs will show your host configuration and credentials. You can access the Horizon Dashboard at the provided IP address:
This is your host IP address: 192.168.142.137
This is your host IPv6 address: ::1
Horizon is now available at http://192.168.142.137/dashboard
Keystone is serving at http://192.168.142.137/identity/
The default users are: admin and demo
The password: nomoresecret

Services are running under systemd unit files.
For more information see:
https://docs.openstack.org/devstack/latest/systemd.html

DevStack Version: 2025.2
OS Version: Ubuntu 22.04 jammy
Verify that you can log in to the Horizon web UI using these credentials:
-
5
Extend Logical Volume to Utilize Free Space
If your Ubuntu installation has constrained disk space allocated by default, extend the logical volume to utilize 100% of the free space on the volume group:
sudo lvextend -r -l +100%FREE /dev/mapper/ubuntu--vg-ubuntu--lv -
6
Authenticate with OpenStack CLI
Before running OpenStack CLI commands, create an administration credentials file named
admin:nano adminInside the file, paste the following environment variables (make sure to replace
IPwith your host IP address andPASSWDwith your administrator password):# Export credentials for administration export OS_AUTH_TYPE=password export OS_AUTH_URL=http://IP/identity/v3 export OS_IDENTITY_API_VERSION=3 export OS_USERNAME=admin export OS_PASSWORD=PASSWD export OS_PROJECT_NAME=admin export OS_USER_DOMAIN_NAME=Default export OS_PROJECT_DOMAIN_NAME=Default export OS_REGION_NAME=RegionOneSave the file and restrict its permissions for security:
chmod 600 adminNow load the credentials into your current shell session and verify authentication by issuing a token:
source admin openstack token issue -
7
Upload Ubuntu 24.04 Noble Cloud Image
Download the latest official Ubuntu 24.04 LTS (Noble Numbat) cloud image and register it in OpenStack using the UEFI firmware property:
# Download the cloud image wget https://cloud-images.ubuntu.com/noble/current/noble-server-cloudimg-amd64.img # Upload the image to OpenStack Glance openstack image create "Ubuntu 24.04 Noble" \ --file noble-server-cloudimg-amd64.img \ --disk-format qcow2 \ --container-format bare \ --property hw_firmware_type=uefi -
8
Upload Debian 13 Trixie Cloud Image
Download the official Debian 13 (Trixie) generic cloud image and register it in Glance with customized hardware properties for VirtIO SCSI and Linux metadata:
# Download the cloud image wget https://cloud.debian.org/images/cloud/trixie/latest/debian-13-generic-amd64.qcow2 # Upload the image to OpenStack Glance with VirtIO SCSI properties openstack image create "Debian 13 Trixie" \ --file debian-13-generic-amd64.qcow2 \ --disk-format qcow2 \ --container-format bare \ --property hw_disk_bus=scsi \ --property hw_scsi_model=virtio-scsi \ --property os_type=linux \ --property os_distro=debian \ --property os_admin_user=debian \ --property os_version=13 -
9
Upload Oracle Linux 9 Cloud Image
Download the Oracle Linux 9 template image and register it in Glance:
# Download the Oracle Linux 9 KVM template
wget https://yum.oracle.com/templates/OracleLinux/OL9/u7/x86_64/OL9U7_x86_64-kvm-b269.qcow2

# Upload the image to OpenStack Glance
openstack image create "Oracle Linux 9" \
  --file OL9U7_x86_64-kvm-b269.qcow2 \
  --disk-format qcow2 \
  --container-format bare
VNC Console Configuration & Verification
Configure CLI clients and deploy a test instance to verify VM creation and obtain the VNC console access link.
-
10
Install Client Libraries
Install the required Python client libraries for Nova, Neutron, and Glance to interact with OpenStack resources via the command-line interface:
sudo apt install -y python3-novaclient python3-neutronclient python3-glanceclient -
11
Verify Available Resources
After installing the clients and successfully authenticating (obtaining the token as shown in Step 6), execute the following commands to check what resources are available in the system:
openstack project list openstack user list openstack role list openstack image list openstack flavor list openstack network list openstack network list --external -
12
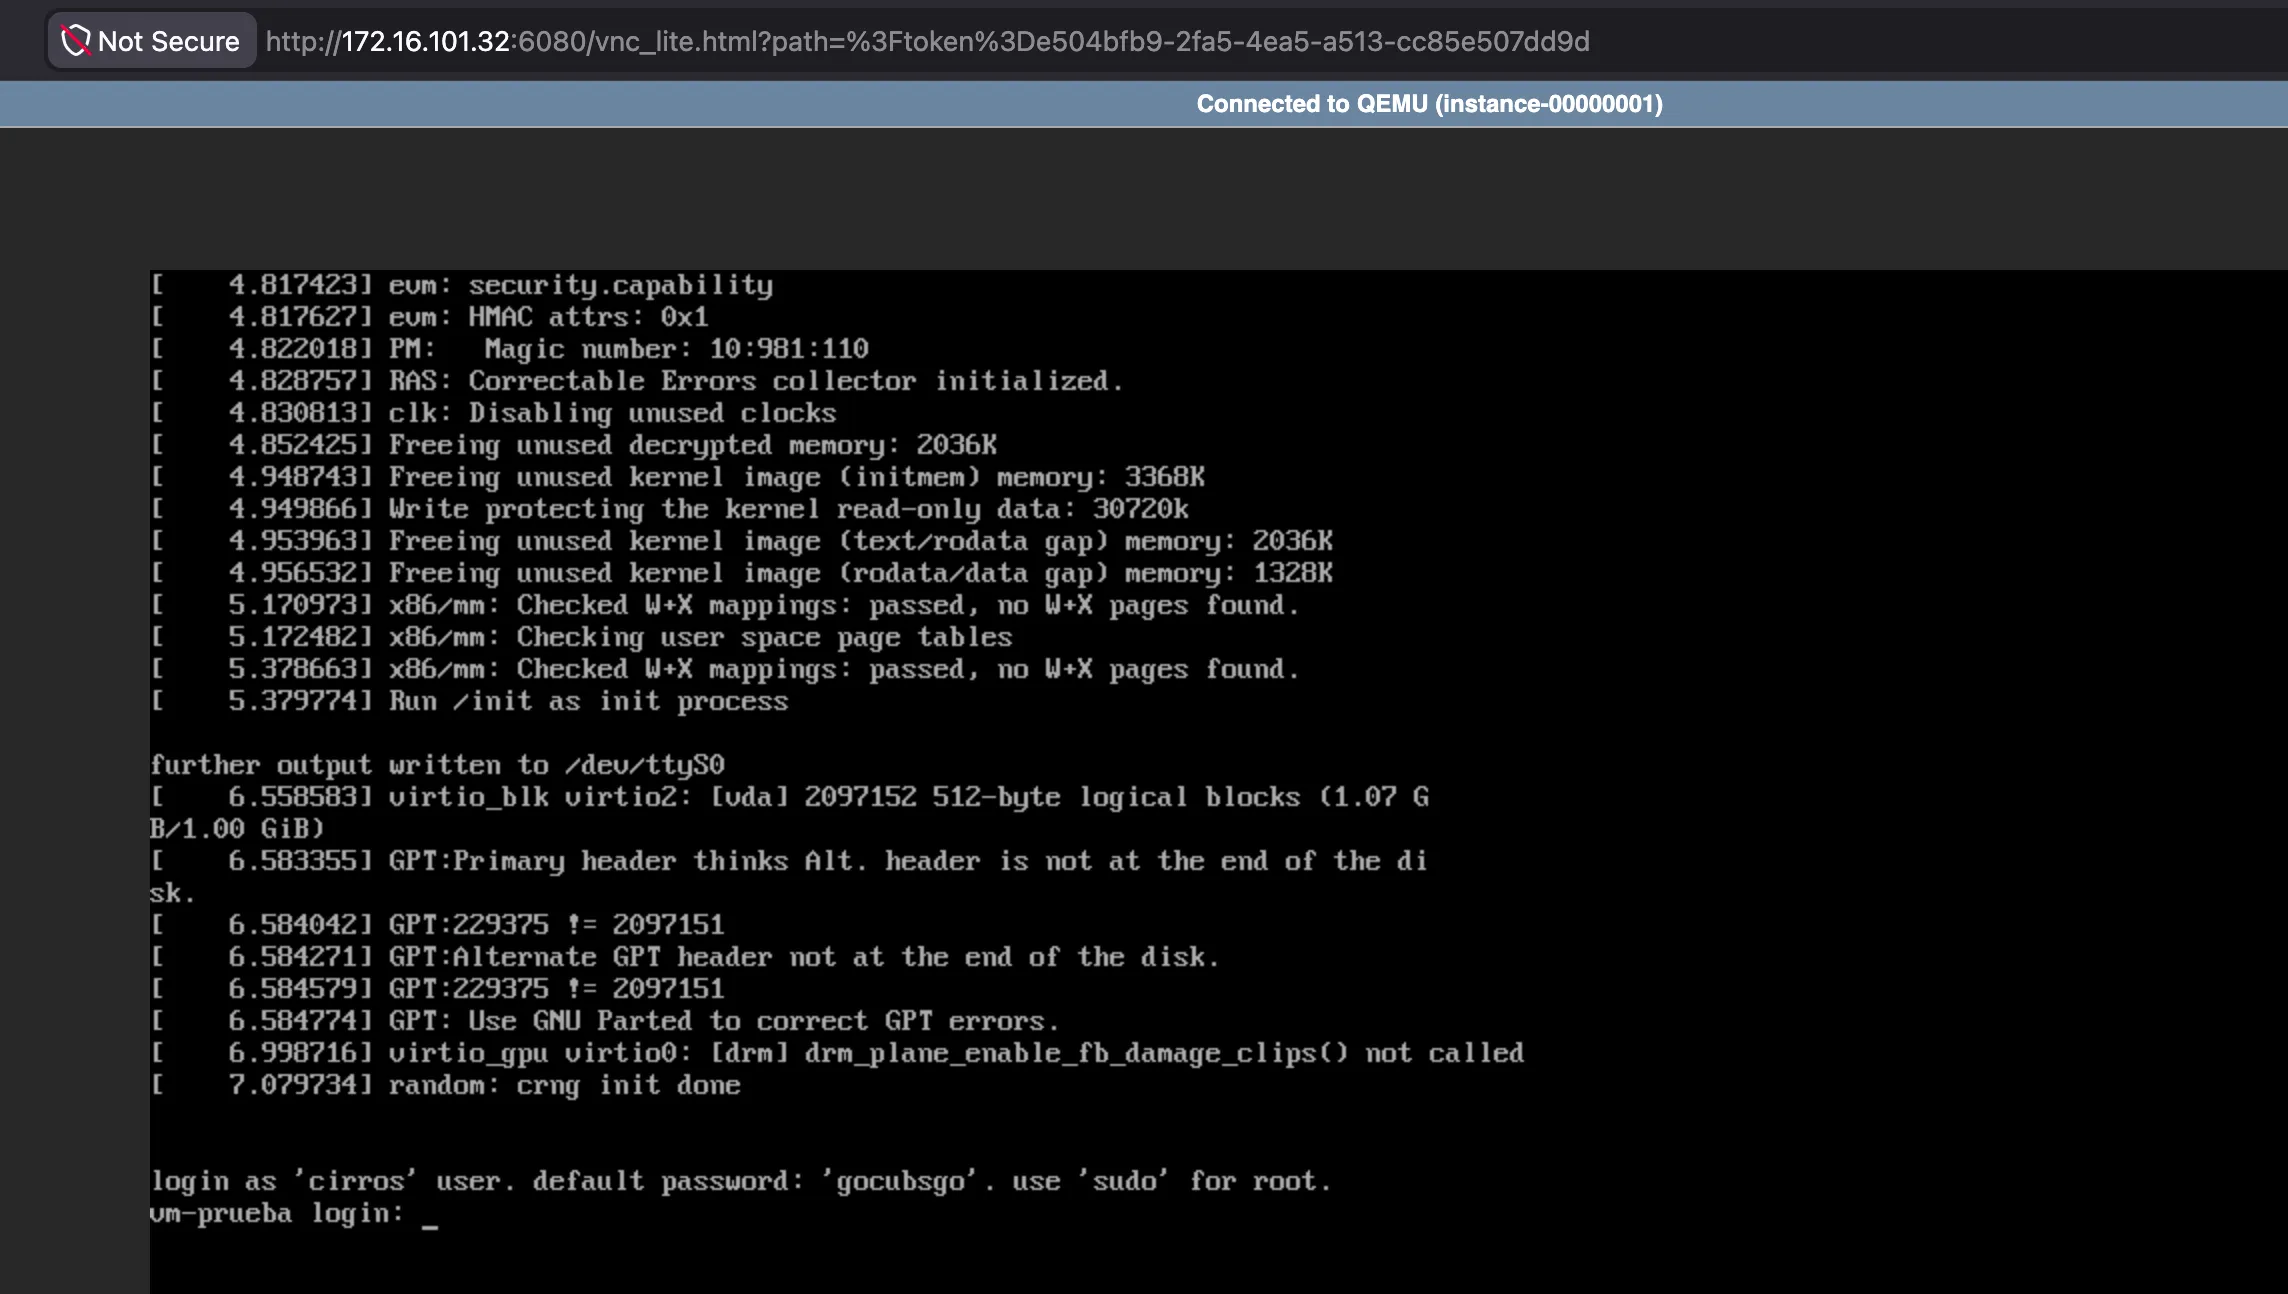
Launch Test VM & Retrieve noVNC URL
Create a test instance, verify its status, and obtain the VNC URL to establish a console connection:
# Deploy a test instance with the CirrOS image
openstack server create \
  --flavor m1.tiny \
  --image cirros-0.6.3-x86_64-disk \
  --network private \
  vm-prueba

# Verify that the server is active and running
openstack server list

sleep 5

# Retrieve the noVNC console URL for remote connection
openstack console url show --novnc vm-prueba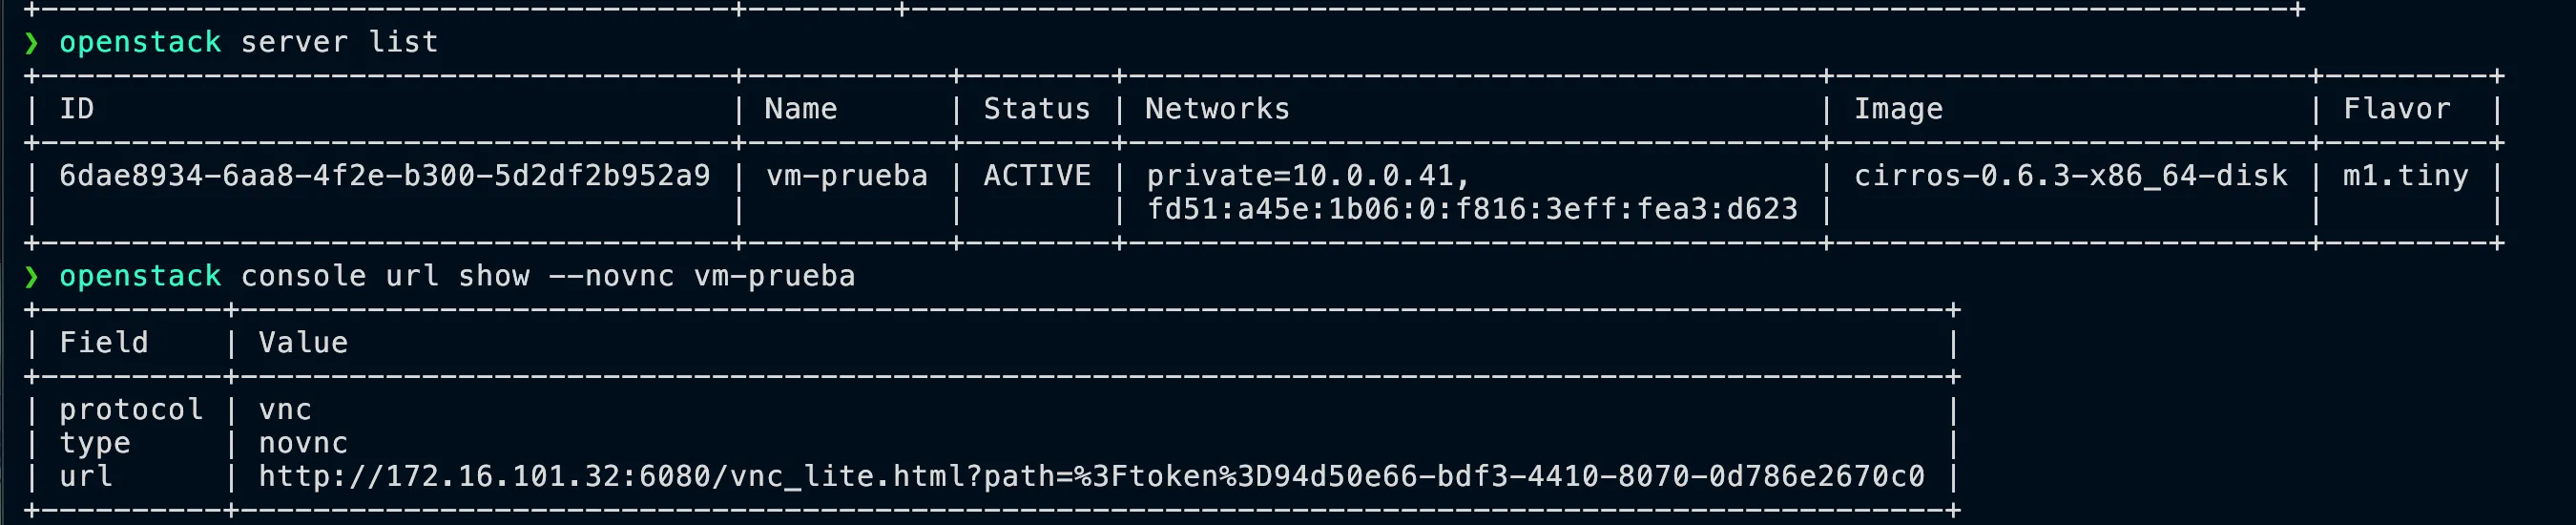
Adding Images for CCDC
Configure the required flavors and upload custom VM images (E-commerce and Workstation) for CCDC scenarios.
-
13
Configure Flavor and Import E-commerce (ecom) Image
Create a custom flavor for the E-commerce instance with 3 vCPUs, 4 GB RAM, and 50 GB disk space:
openstack flavor create ecom-3c-4g-50g \
  --vcpus 3 \
  --ram 4096 \
  --disk 50
On the storage server, compress the original image to optimize file size and reduce transfer times:
qemu-img convert -O qcow2 -c \
  ecom.qcow2 \
  ecom-compressed.qcow2
Copy the compressed image to your OpenStack control node (using SCP is typically faster):
scp user@10.0.4.146:/var/lib/libvirt/images/ecom-compressed.qcow2 .Register the E-commerce image in Glance using the VirtIO disk bus and network interface properties:
openstack image create "ecom" \
  --file ./ecom-compressed.qcow2 \
  --disk-format qcow2 \
  --container-format bare \
  --property hw_disk_bus=virtio \
  --property hw_vif_model=virtio
Alternatively, you can stream the image transfer directly from a web server using
curlto avoid storing it locally first:openstack image create "ecom" \ --disk-format qcow2 \ --container-format bare \ --property hw_disk_bus=virtio \ --property hw_vif_model=virtio \ --file <(curl -L http://IP:8080/ecom.qcow2) -
14
Configure Flavor and Import Ubuntu Workstation Image
Create a custom flavor for the Ubuntu Workstation instance with 4 vCPUs, 8 GB RAM, and 60 GB disk space:
openstack flavor create "ubuntu-workstation" \
  --vcpus 4 \
  --ram 8192 \
  --disk 60
On the storage server, compress the workstation image before transferring it:
qemu-img convert -O qcow2 -c \
  ubuntu24.04.qcow2 \
  ubuntu24.04-compressed.qcow2
Copy the compressed workstation image from the storage host:
scp user@10.0.4.146:/var/lib/libvirt/images/ubuntu24.04-compressed.qcow2 .Register the workstation image in Glance with VirtIO configuration:
openstack image create "wkst-ubuntu" \
  --file ./ubuntu24.04-compressed.qcow2 \
  --disk-format qcow2 \
  --container-format bare \
  --property hw_disk_bus=virtio \
  --property hw_vif_model=virtio