Project Highlights
Security Onion deployment focused on network security monitoring, IDS visibility, log collection, and CCDC-style defensive operations.
- Deployed Security Onion in a Proxmox-based lab and documented an updated NUC-based monitoring build.
- Configured NIC passthrough and switch mirror mode to capture network traffic for IDS analysis.
- Added management networks and firewall access rules for Security Onion Console and agent communication.
- Linked Zeek and Suricata workflows to support packet analysis, intrusion detection, and blue team monitoring.
Update 2025: For my NALA project and to use in the homelab, we will use this NUC for installation, but I will continue sending logs to Security Onion on Proxmox that I already had configured.
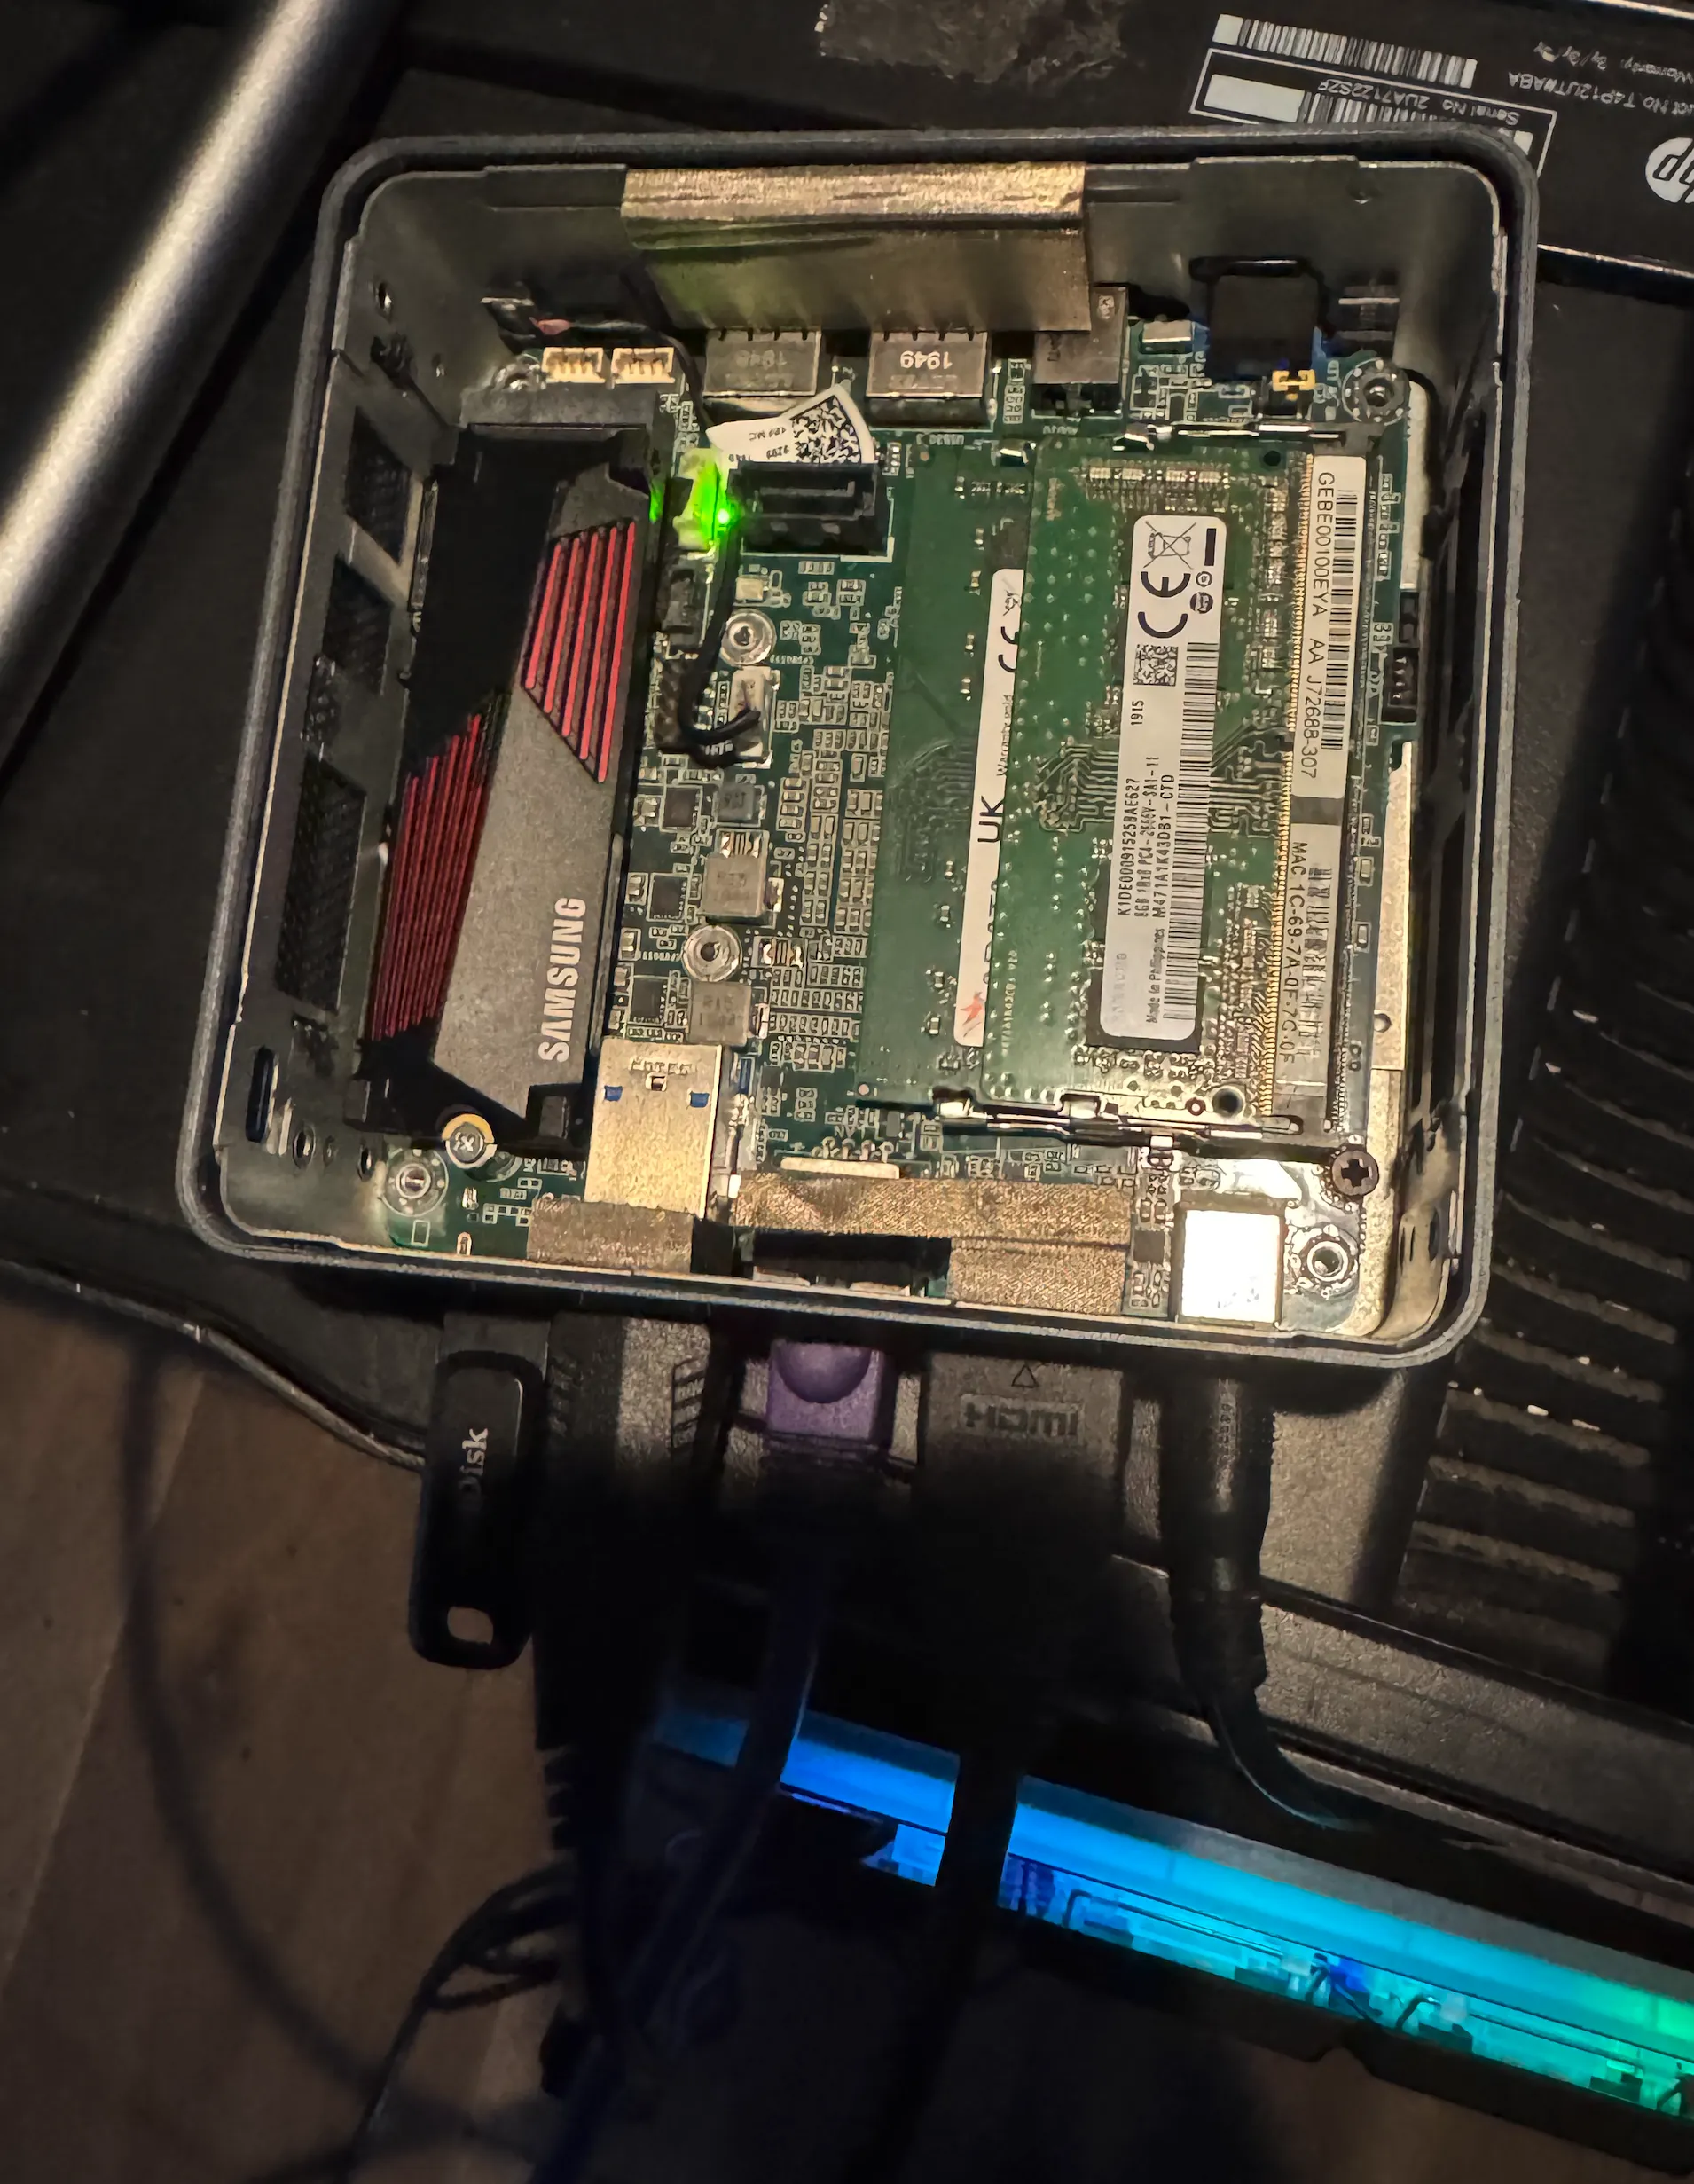
Intel NUC - Network Security Monitoring Device
Peel Back the Layers of Your Network Security!
Security Onion is an open-source Linux distribution for network security monitoring, intrusion detection, and log management. It integrates a variety of free tools to provide a robust defense system, helping organizations detect and respond to cyber threats effectively.
Back in 2022 during the state competition in Chicago, I was in charge of the web server and the IDS security onion, I learned for the first time what it was and I began to create a script to speed up the installation throughout the CCDC network, it was a 2-day competition where the team red penetrated our machines intensely, now I have decided to implement it on my network.-
1
Download the Iso in proxmox
wget https://raw.githubusercontent.com/Security-Onion-Solutions/securityonion/2.4/main/KEYS -O - | gpg --import - wget https://download.securityonion.net/file/securityonion/securityonion-2.4.90-20240729.iso wget https://github.com/Security-Onion-Solutions/securityonion/raw/2.4/main/sigs/securityonion-2.4.90-20240729.iso.sig gpg --verbose --verify securityonion-2.4.90-20240729.iso.sig securityonion-2.4.90-20240729.iso gpg: Signature made Thu 25 Jul 2024 01:51:11 PM HDT gpg: using RSA key C804A93D36BE0C733EA196447C1060B7FE507013 gpg: using pgp trust model gpg: Good signature from "Security Onion Solutions, LLC -
2
Passthrough Ethernet for mirror
ip link show 1: lo: -
3
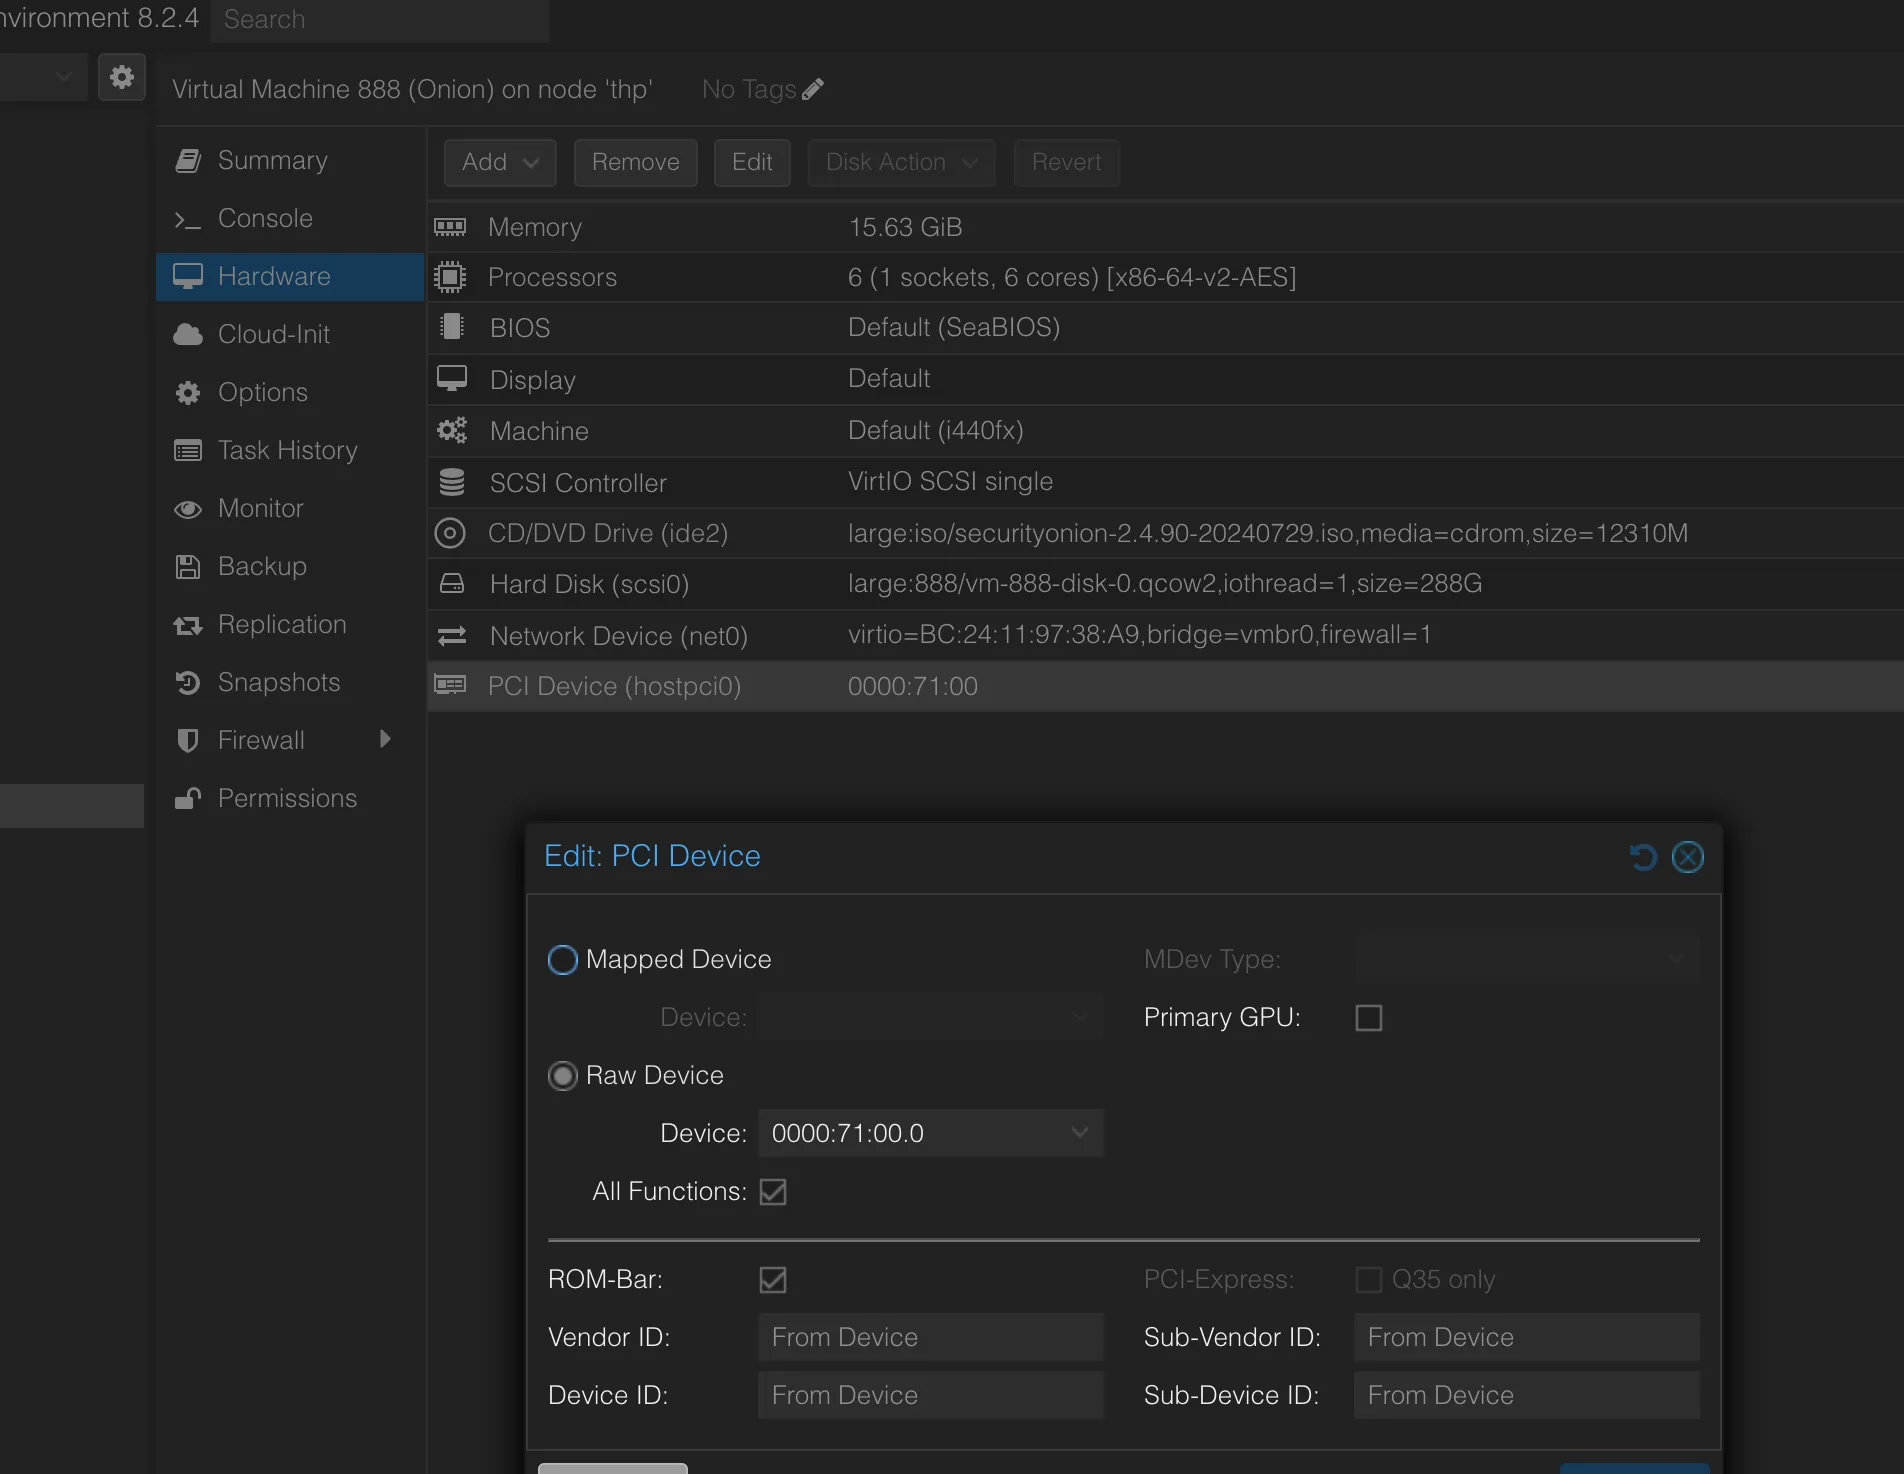
Create a VM with the PCI
-
4
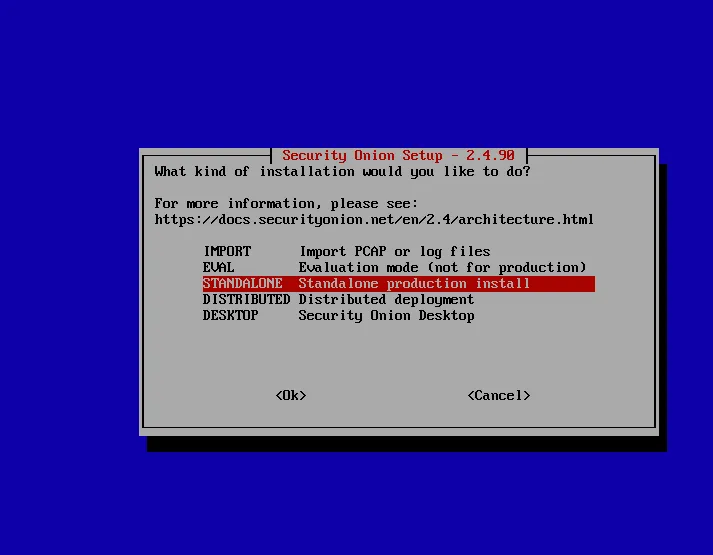
Start the VM and install it. Just follow the installations steps
-
5
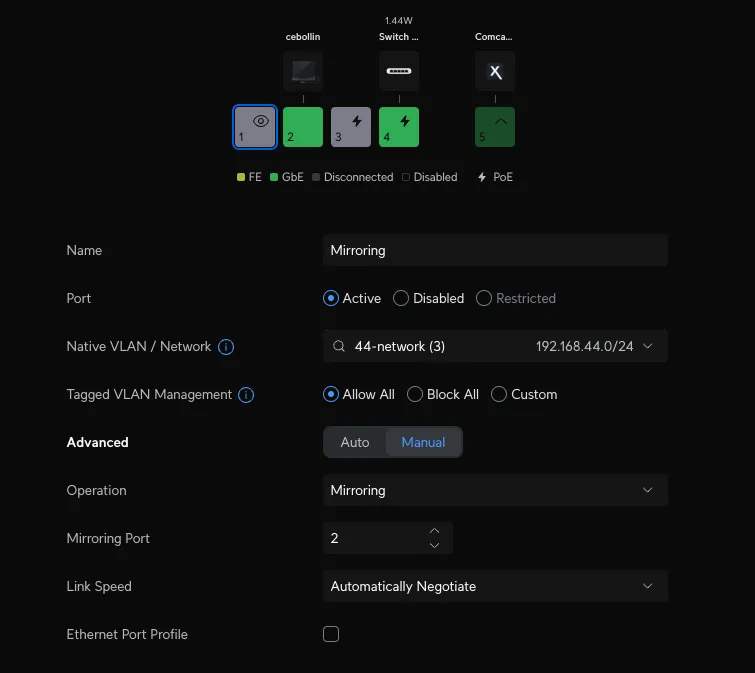
Configure Mirror mode on the switch
-
6
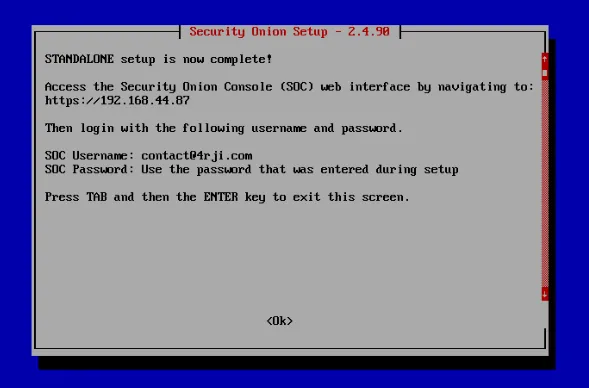
Access the web
-
7
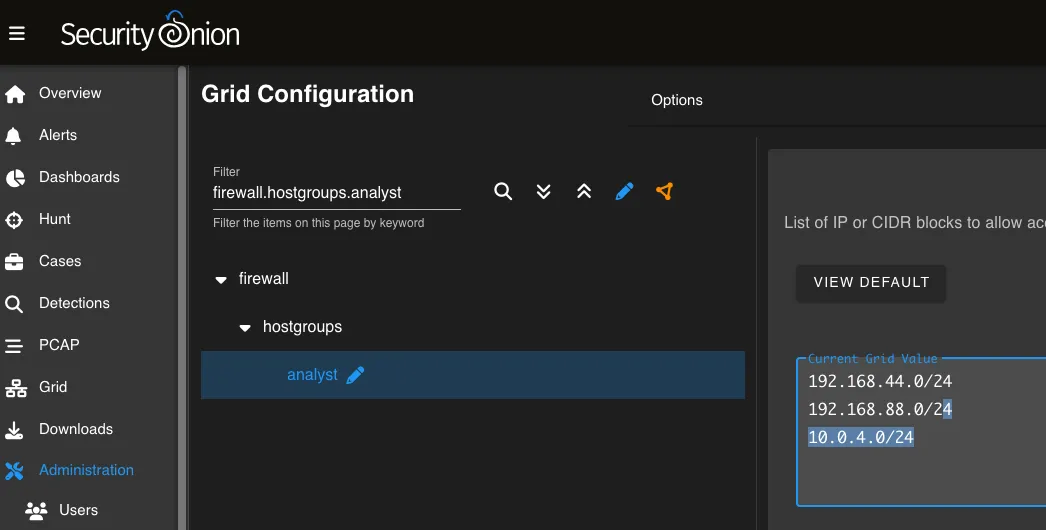
Add management networks
Firewall settings - Allow web browsers to login to Security Onion Console
-
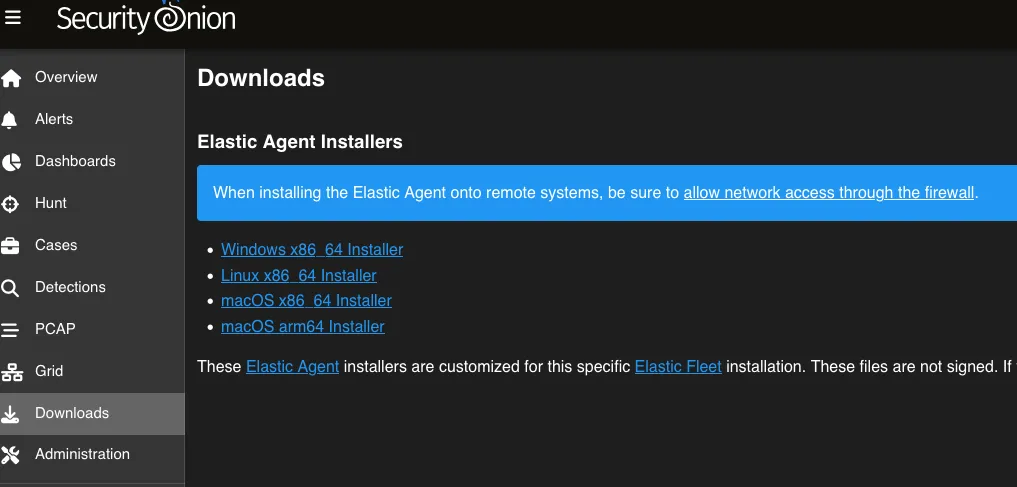
8
Download the agents and allow them in the firewall
TextDeLaImagen
-
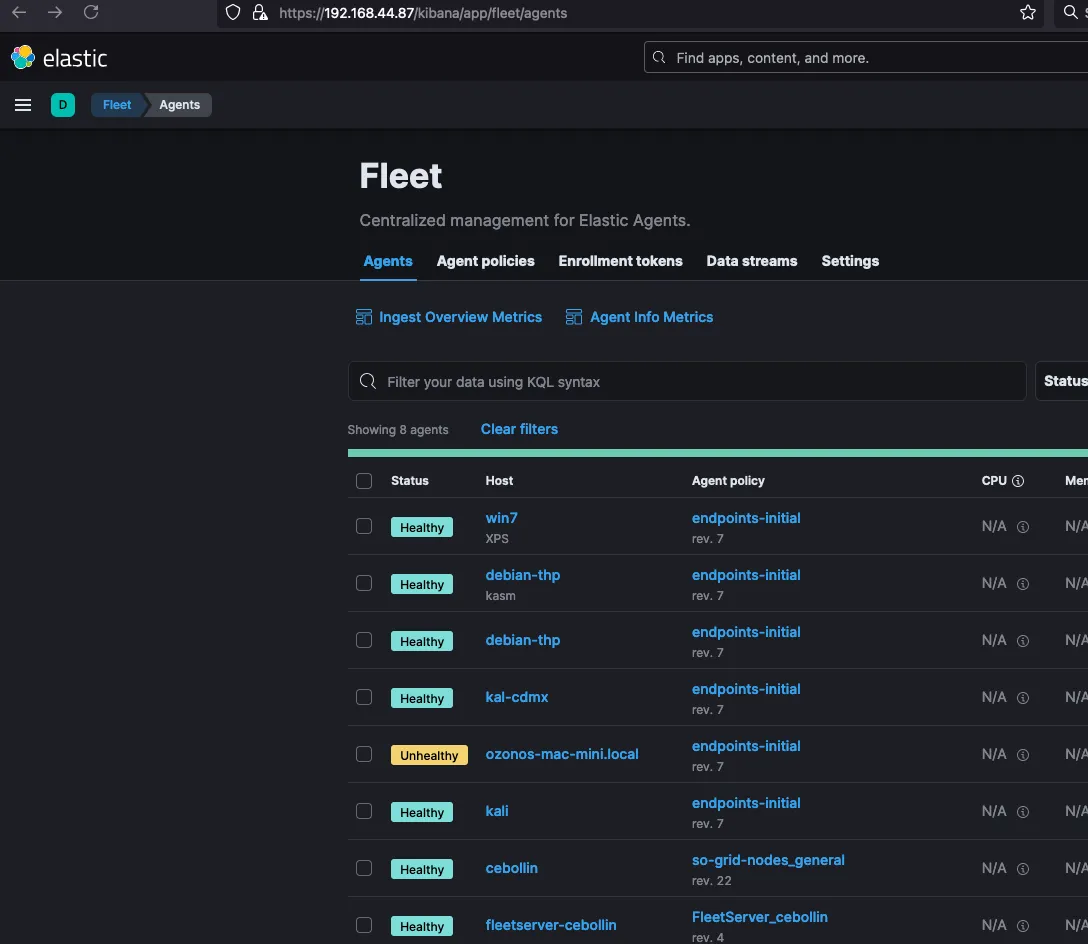
9
Install the agents
❯ chmod +x so-elastic-agent_linux_amd64 ❯ sudo ./so-elastic-agent_linux_amd64 Installation initiated, view install log for further details. ❯ cat SO-Elastic-Agent_Installer.log "}\nSuccessfully enrolled the Elastic Agent.\nElastic Agent has been successfully installed.\n" 11 │ timestamp=2024-07-31T14:43:50.229338557-10:00 level=info message="Installation Progress" Status="Elastic Agent installation │ completed" -
10
Ready
Ready, enjoy.