Installing and Using BloodHound
BloodHound is a powerful tool for analyzing Active Directory environments. This guide will walk you through the installation process on both macOS and Linux systems.
Installation on macOS
curl -L -o bloodhound-cli-darwin-arm64.tar.gz https://github.com/SpecterOps/bloodhound-cli/releases/latest/download/bloodhound-cli-darwin-arm64.tar.gz
tar -xvzf bloodhound-cli-darwin-arm64.tar.gz
./bloodhound-cli install
Installation on Linux
wget https://github.com/SpecterOps/bloodhound-cli/releases/latest/download/bloodhound-cli-linux-amd64.tar.gz
tar -xvzf bloodhound-cli-linux-amd64.tar.gz
./bloodhound-cli install
If Docker is not installed yet, add the required dependencies and your user to the docker group before running BloodHound:
sudo apt update
sudo apt install docker.io docker-compose
sudo usermod -aG docker $USER
newgrp docker
Accessing BloodHound
After installation, you can access BloodHound at (you may need to ssh into the VM to see it ssh -L 8080:127.0.0.1:8080):
http://127.0.0.1:8080/ui/login
Use the following credentials:
- Username: admin
- Password: (Use the randomly generated password from installation)
Managing BloodHound
Stop BloodHound
bloodhound-cli down
Start BloodHound
./bloodhound-cli up
Restarting BloodHound
docker compose up -d
Resetting Password
./bloodhound-cli resetpwd
Database Migration Steps
# 1. Start only the database container
docker compose up app-db

# 2. Change password encryption
docker compose exec app-db sh -c "psql -c \"SET password_encryption = 'scram-sha-256'; ALTER ROLE CURRENT_USER PASSWORD '\${BH_POSTGRES_PASSWORD:-bloodhoundcommunityedition}';\""

# 3. Export data
docker compose exec app-db pg_dumpall > dump.sql

# 4. Stop and remove container
docker compose rm -f app-db

# 5. Remove database volume
docker volume rm docker-compose_postgres-data
Importing Data
To import data into BloodHound, follow these steps:
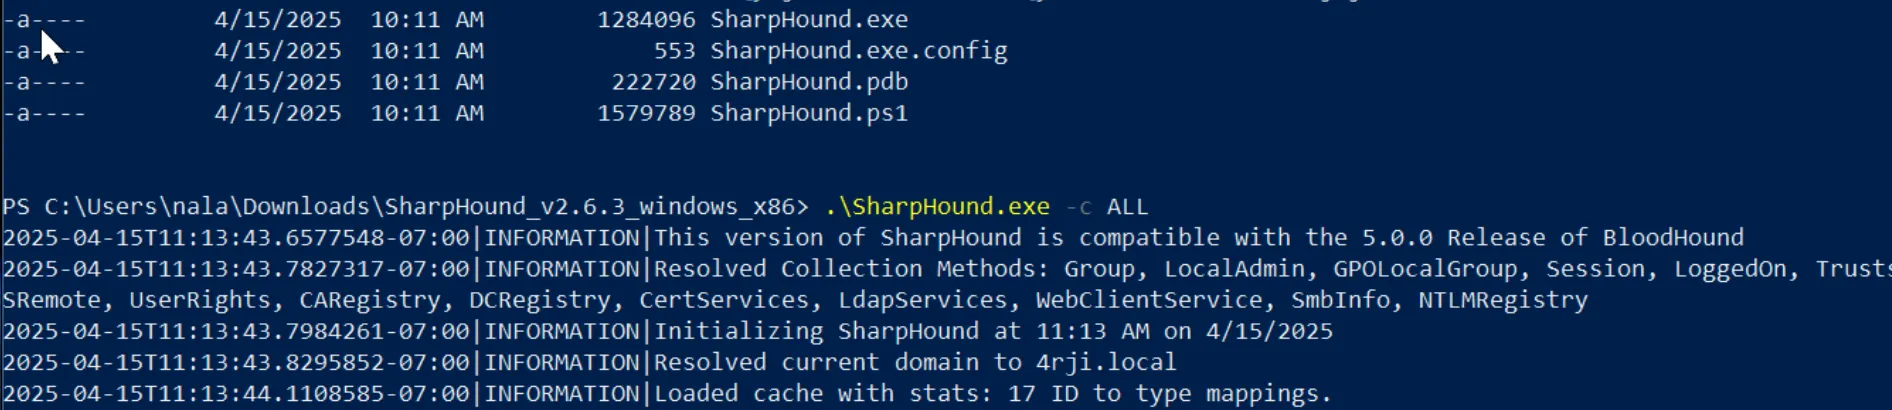
Step 1: Download and Run Windows Executable
Download the Windows executable and run it as shown in the image below: Execute: powershell -ep bypass
Step 2: Extract the ZIP File
Once the process completes and generates a ZIP file, extract it using AirSend:

Step 3: Import Data into BloodHound
Download the extracted data to your machine, unzip it, and import it into BloodHound:

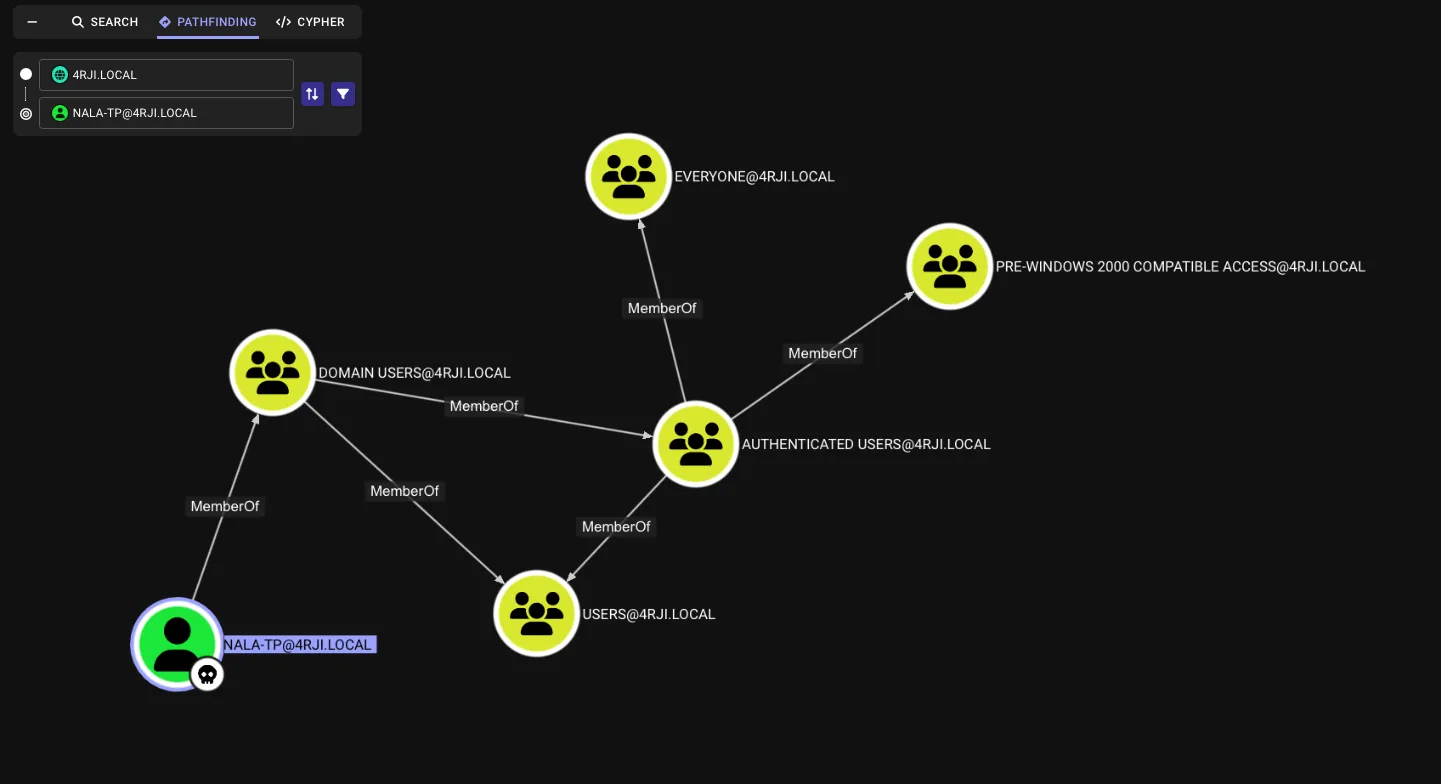
Step 4: View Results
Once imported, you can view the results in BloodHound: